There’s something incredibly satisfying about taking scrap aluminum, melting it down, and shaping it into something new. The process feels almost primal—turning discarded materials into something useful with just heat, patience, and a little creativity. It’s a mix of science and craftsmanship, and once you get started, it’s hard not to get hooked.
I first got into melting and casting aluminum as a hobby, just out of curiosity. I wanted to see if I could take old soda cans, broken tools, or other aluminum scraps and turn them into something cool, like small parts, medallions, or even just ingots to store for future projects. Along the way, I learned a lot—both from my successes and my mistakes. If you’re interested in trying it yourself, there are a few things you should know before diving in.
Getting Started: What You Need to Know
Melting aluminum at home isn’t something you can just jump into without a plan. The temperatures involved are no joke—aluminum melts at around 1,220°F (660°C)—so safety has to be your top priority. You also need the right setup, because trying to melt aluminum in a way that isn’t controlled or safe can lead to dangerous accidents.
The first step is having a proper furnace. A homemade charcoal or propane furnace works well for small-scale aluminum melting, but it needs to be built correctly. A simple metal bucket lined with refractory cement can do the trick, but make sure it’s properly insulated and ventilated. You’ll also need a crucible—a heat-resistant container that holds the aluminum while it melts. Graphite or steel crucibles are commonly used, but they need to be able to withstand high temperatures without breaking down.
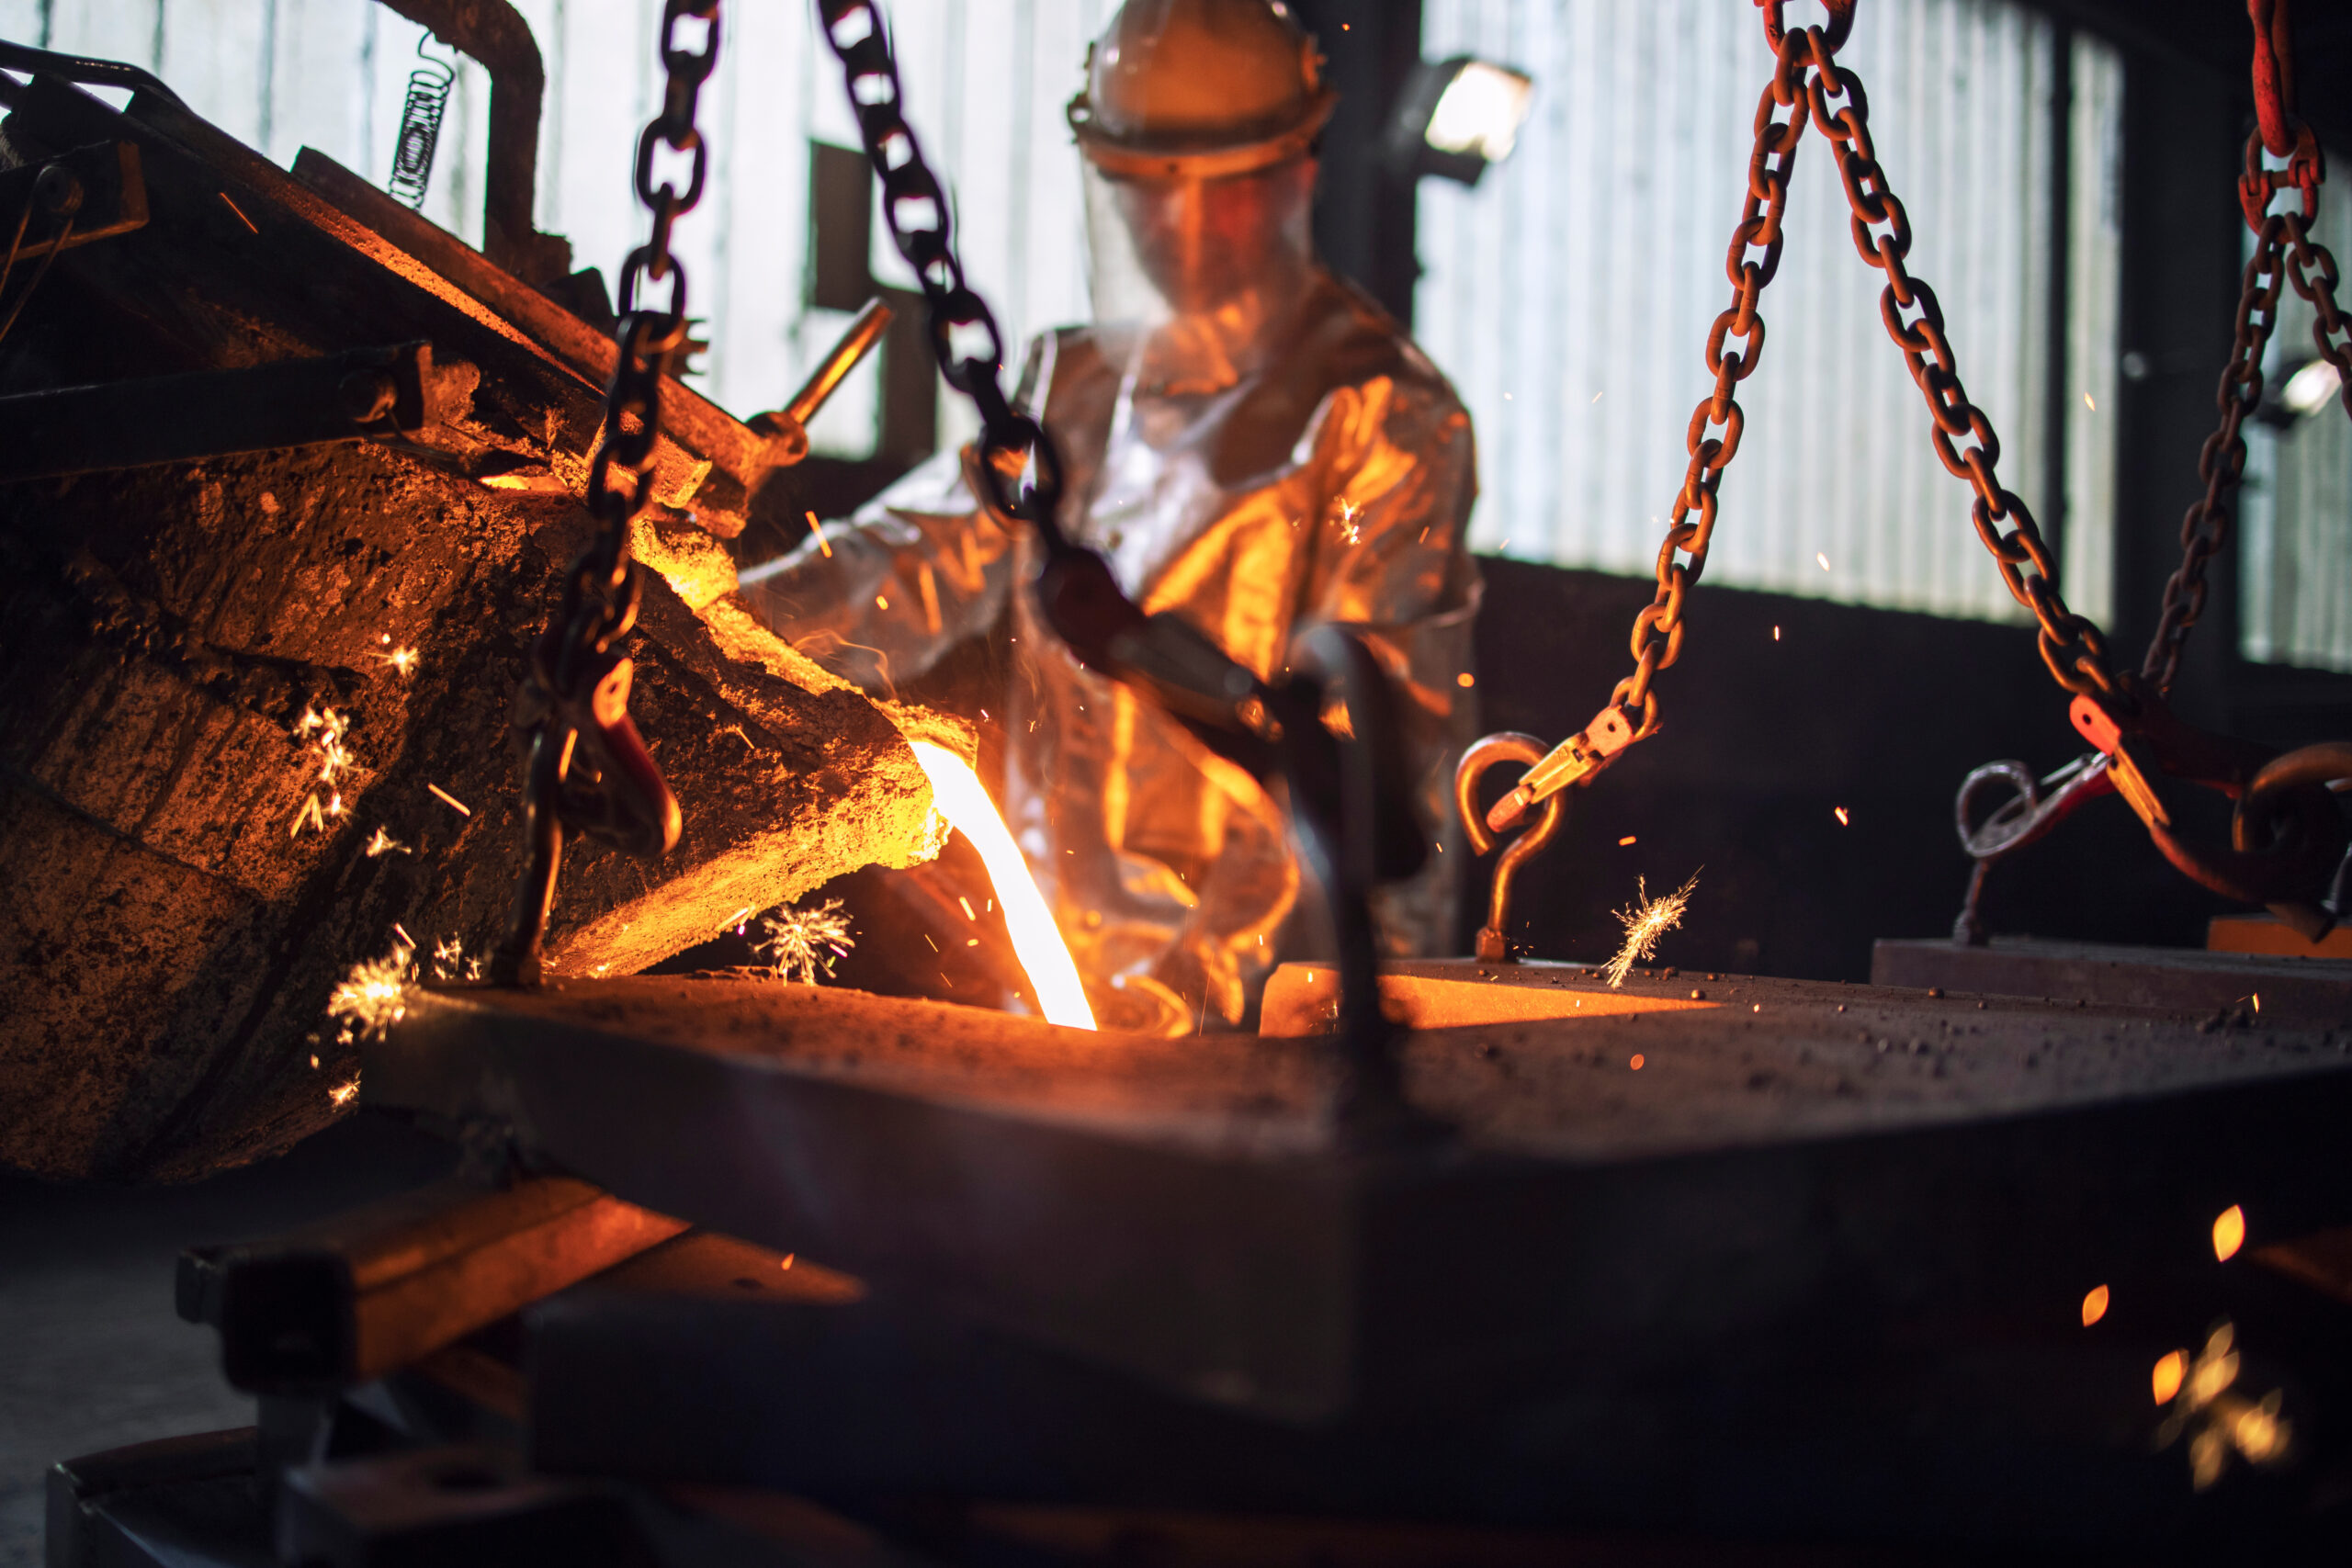
Safety gear is non-negotiable. I always wear thick leather gloves, a welding mask or safety goggles, and a long-sleeve fire-resistant shirt when I’m melting metal. Aluminum doesn’t just get hot—it can splash and cause serious burns if you aren’t careful. I also make sure to work outside or in a well-ventilated area to avoid inhaling any harmful fumes.
Finding Aluminum to Melt
One of the best things about aluminum casting is that you don’t have to buy expensive raw materials. Aluminum is everywhere, and a lot of it ends up being thrown away. Soda cans are the easiest to find, but they produce a lot of slag (waste material) because of the paint and coatings. Other good sources of aluminum include broken lawn chairs, car parts, old hard drives, and scrap metal from construction projects.
Not all aluminum is the same, though. Some types are mixed with other metals, which can make them harder to work with. Cast aluminum, like what you’d find in old engine parts, melts well and is great for casting. Thinner aluminum, like foil or cans, burns off a lot faster and doesn’t yield as much usable metal.
Before melting, I try to clean my aluminum as much as possible. Dirt, paint, and coatings can cause impurities in the final cast, so I either strip them off or let the slag collect at the top so I can skim it away before pouring.
Melting and Pouring Aluminum
Once the furnace is up to temperature and the aluminum is melting, it’s important to be patient. Rushing the process can lead to problems, like an uneven melt or impurities in the final product. As the aluminum turns into liquid, slag will rise to the top. This needs to be skimmed off with a metal rod or spoon to ensure a clean pour.
The next step is pouring the molten aluminum into a mold. This is where things can get tricky. The mold needs to be dry—any moisture can cause the aluminum to react violently, leading to dangerous splashes. I usually preheat my molds slightly to remove any traces of moisture.
For molds, there are a lot of options. Sand casting is a popular method, where you press a shape into damp sand and then pour the aluminum in. Graphite molds work well too, especially for small ingots or detailed pieces. Whatever you use, make sure it can handle the heat without cracking.
Once the aluminum is poured, it cools quickly. Within minutes, it starts solidifying, and after a little time, it’s ready to be removed from the mold. But just because it looks solid doesn’t mean it’s safe to touch—it stays hot for a while, so I always wait before handling it.
Common Mistakes and Lessons Learned
I’ve made my fair share of mistakes while learning to melt and cast aluminum. The first time I tried using soda cans, I didn’t realize how much slag they produce, and I ended up with barely any usable metal. Another time, I poured aluminum into a mold that had a tiny bit of moisture left in it, and it sputtered violently, nearly burning me.
One of the biggest lessons I’ve learned is the importance of patience. If the aluminum isn’t fully melted or the slag isn’t properly removed, the final cast won’t turn out well. I’ve also learned to respect the heat. It’s easy to forget how dangerous molten metal can be, but even a small mistake can lead to burns or damaged tools.
Why Aluminum Casting is Worth Trying
Despite the challenges, melting and casting aluminum is one of the most rewarding hobbies I’ve picked up. There’s something almost magical about taking scrap metal and transforming it into something useful. Whether I’m making simple aluminum ingots for future projects or trying my hand at casting detailed objects, each time I pour metal, I feel like I’m improving my skills and learning something new.
It’s also a great way to recycle. Instead of throwing away aluminum scraps, I give them a second life, turning them into something new and valuable. It’s a hobby that combines creativity, science, and craftsmanship, and it never gets old.
If you’ve ever been curious about working with metal, I highly recommend giving aluminum casting a try. Start small, stay safe, and take your time learning the process. Once you see that first successful pour, you’ll be hooked—just like I was.